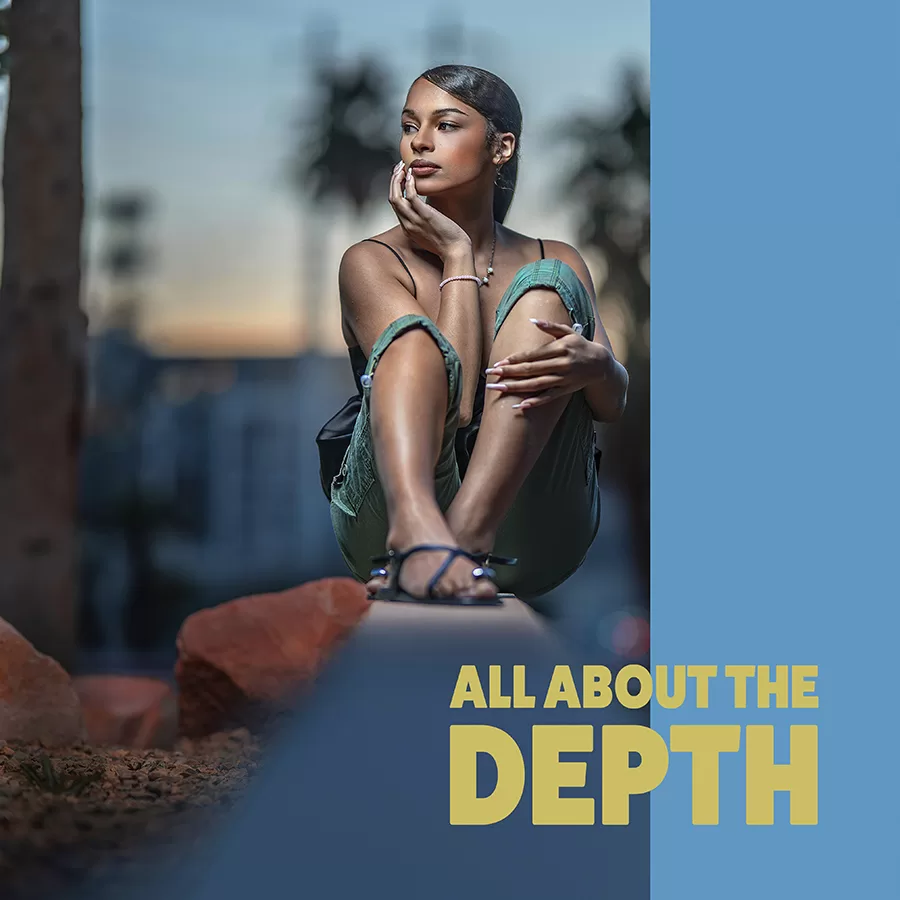
All About the Depth
$19.00
ALL ABOUT THE DEPTH
How Camera Position, Light and Composition Built the Final Image
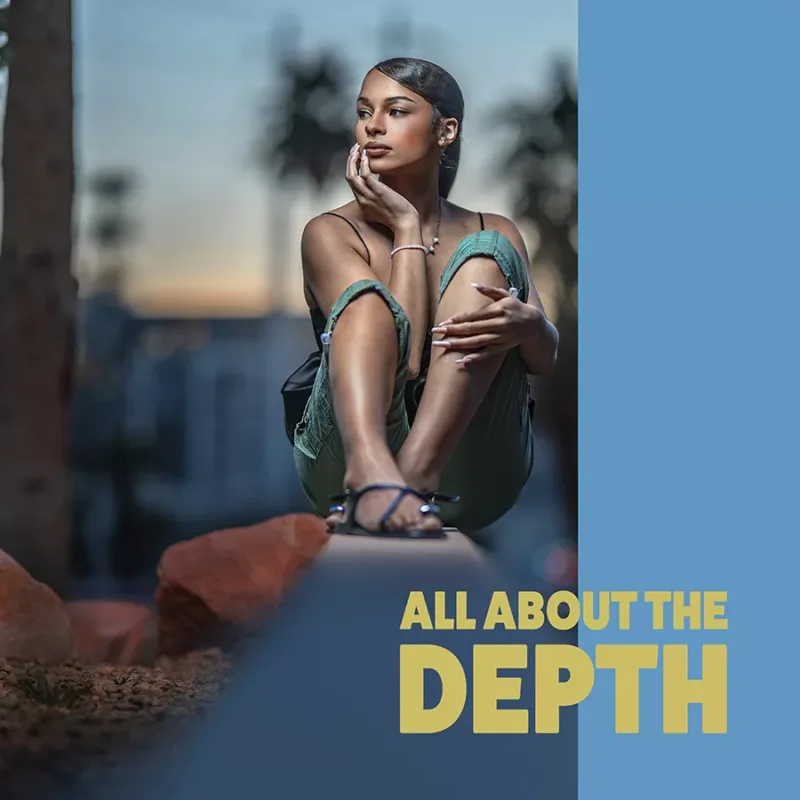
The depth in this image wasn't created in Photoshop. It was already there.
When I shared this image, a lot of the conversation centered around the background and the amount of separation in the photograph. Some assumed the background had been manipulated. Others thought I had done something in post to exaggerate the depth.
So I decided to show exactly how I did it.
In this course, I'm giving you an extensive behind-the-scenes look at the entire setup. You'll see video pullbacks from multiple angles so you can see the actual location, where I positioned myself, where I positioned my subject, where my light was placed, and how all of those decisions worked together to create the depth you see in the finished image.
And I did it without an assistant.
One question I hear from photographers is whether they can create images like mine when they don't have someone available to hold their light. For this setup, my light was on a light stand. You'll see exactly where I put it and how I worked around it while photographing.
Camera position is also a huge part of this image.
The location itself isn't extraordinary. What matters is how I chose to photograph through it. You'll see how my camera position allowed me to use the foreground, subject and background as separate layers within the frame instead of simply relying on a wide aperture to create separation.
Then I'll show you the straight-out-of-camera RAW file and the entire series from this location so you can see what was actually captured before I touched the image in post.
From there, you'll watch the complete hand edit from RAW to final. I'll show you how I use tonal adjustments, color grading and contrast to finish what was already created in-camera rather than manufacture the effect afterward.
I finish the course with a short segment using Evoto for skin refinement. A QR code for 50 FREE Evoto credits is included with the course.
Inside the course you'll see:
• Extensive video BTS and full pullbacks from multiple angles
• The actual location and why I chose it
• My exact camera position
• Subject placement and how it contributes to depth
• Light placement using a light stand instead of an assistant
• The straight-out-of-camera RAW file
• The entire series captured at this location
• How foreground, subject and background were layered in-camera
• My complete RAW-to-final hand edit
• Tonal adjustments, color grading and contrast control
• My final Evoto skin refinement
• 50 FREE Evoto credits
This isn't about blurring a background and calling it depth. It's about understanding how camera position, composition, light and the environment can work together to build depth before the editing ever begins.
Runtime: 27 minutes
Available inside the VP Box