How I Got the Shot 7
$19.00
From RAW TO FINAL
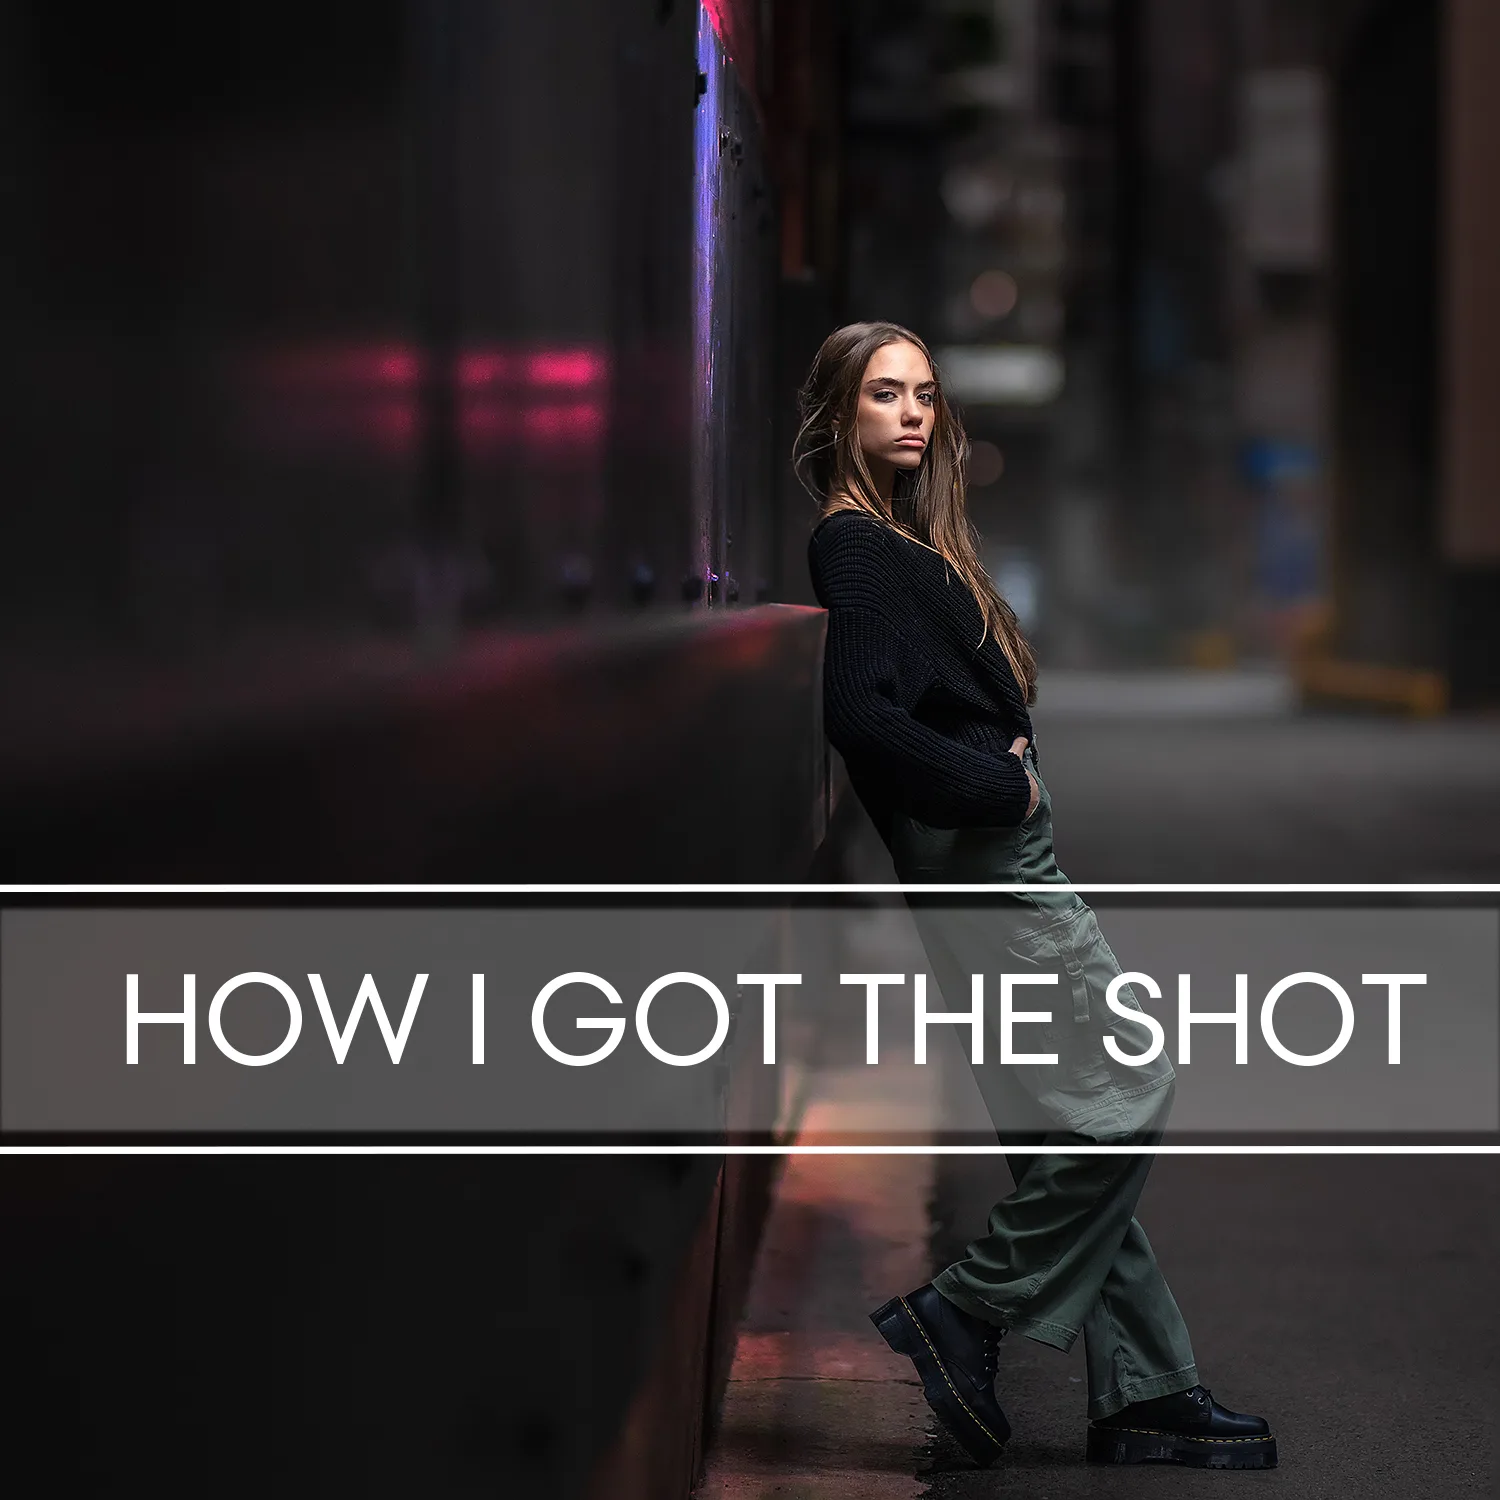
This image was captured during one of my in person workshops where I was showing photographers how to create something from nothing. Sometimes the thing that looks wrong in the RAW file becomes the thing that makes the finished image.
This photograph received thousands of likes whenever I shared it, but the finished image doesn't tell you much about where I actually created it.
It was an alleyway.
In this tutorial, I'm pulling everything back so you can see what I saw before I created the photograph. I'll show you the actual location, why I chose that particular section of the alley, how I built the composition, where I positioned my subject, and why I placed my light where I did.
But there was something else happening in-camera that I didn't particularly like.
You can see it clearly in the RAW file. Instead of simply getting rid of it during the edit, I made a decision to use what I already had and turn it into something that contributed to the finished image.
That's an important part of how I work. Not every decision is about eliminating everything imperfect. Sometimes it's about recognizing what you already have and figuring out how to make it work for the image.
You'll see the pullback BTS, the original location, my lighting decisions, the RAW file, and my complete edit from RAW to final. You'll be able to separate what I created in-camera from what I developed during the edit and understand how those two parts worked together.
And even if you don't edit in Photoshop, there is still a larger lesson here. I'm showing you how I looked at an ordinary alley, decided what belonged inside my frame, controlled what the camera saw, and then used an imperfection I didn't particularly like to my advantage.
The final image looked intentional because the entire process was intentional.
This tutorial is included in the VP Box. Standalone purchases include lifetime access.