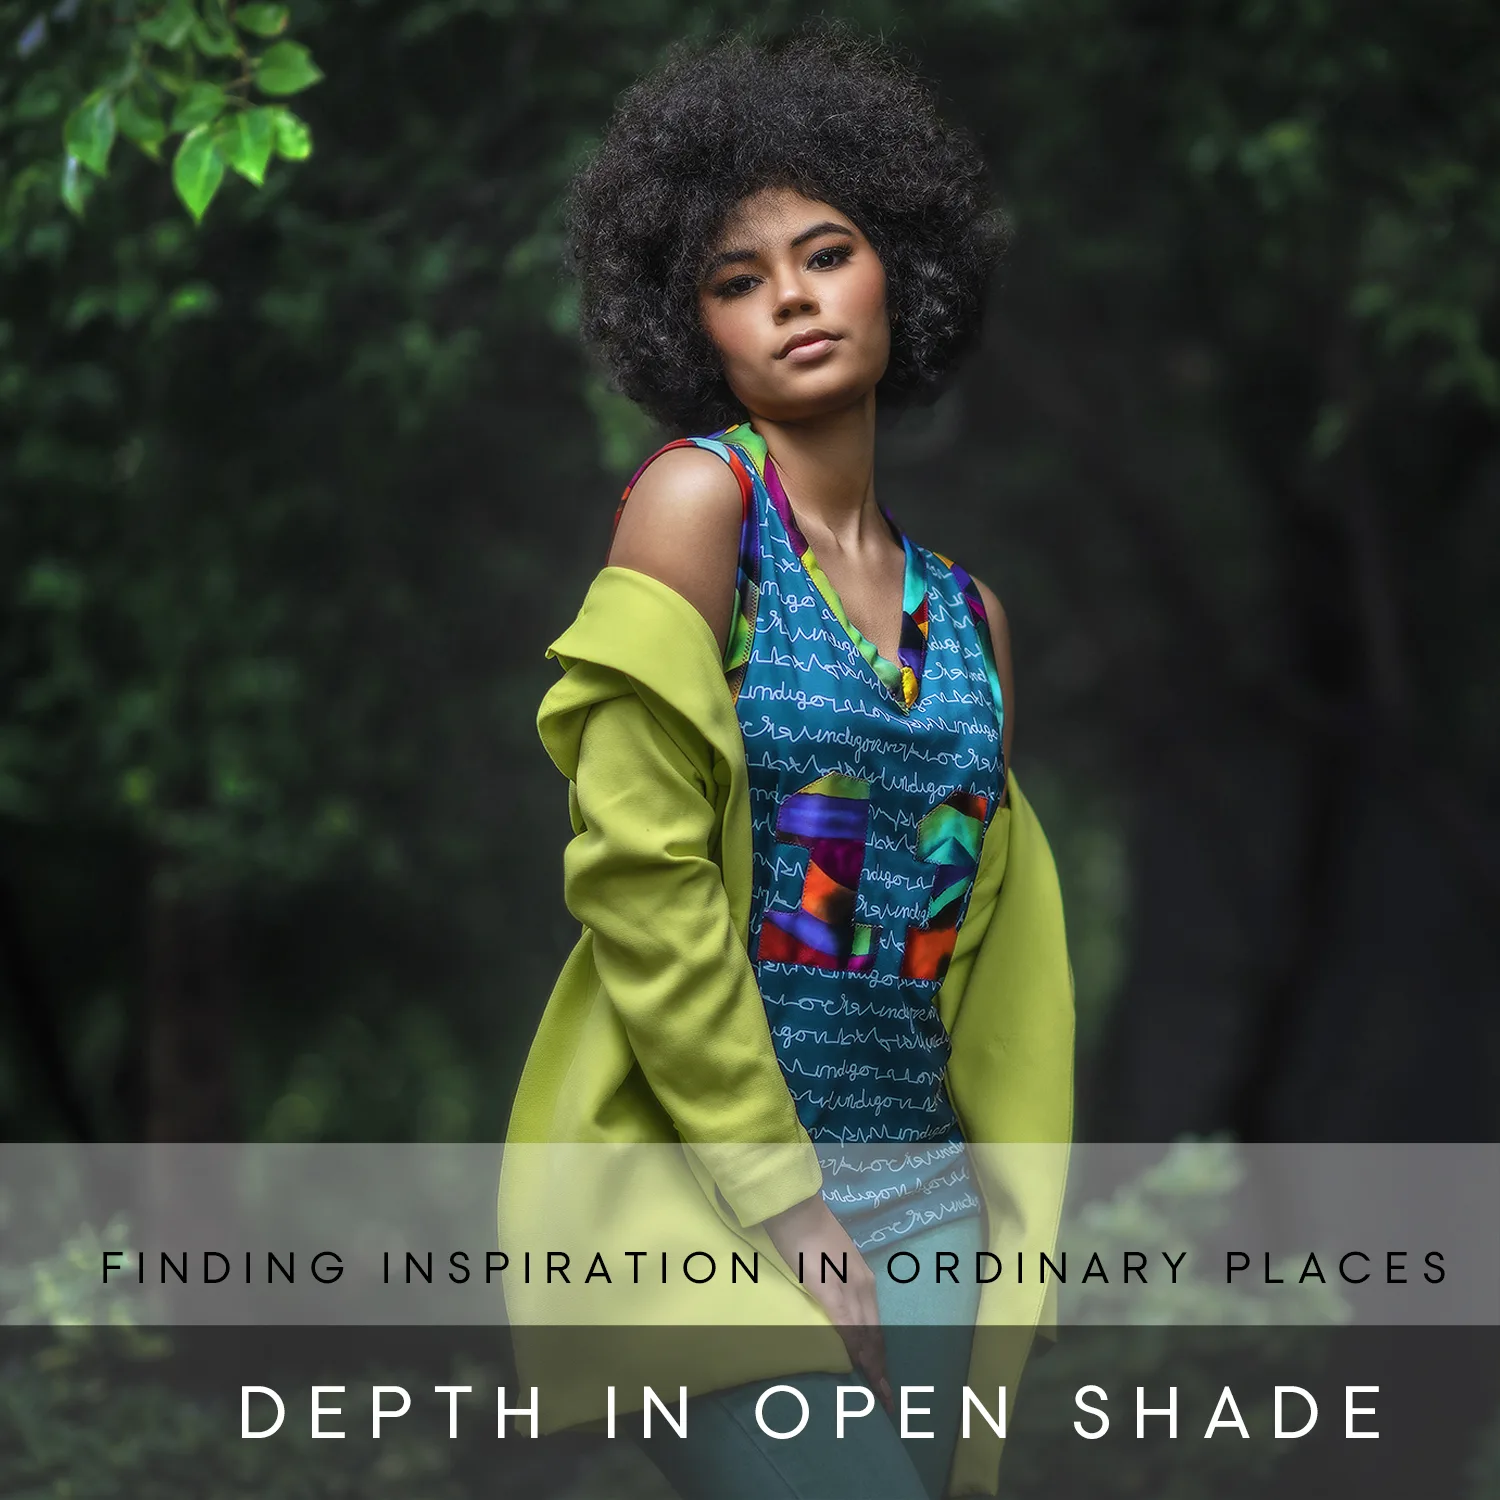
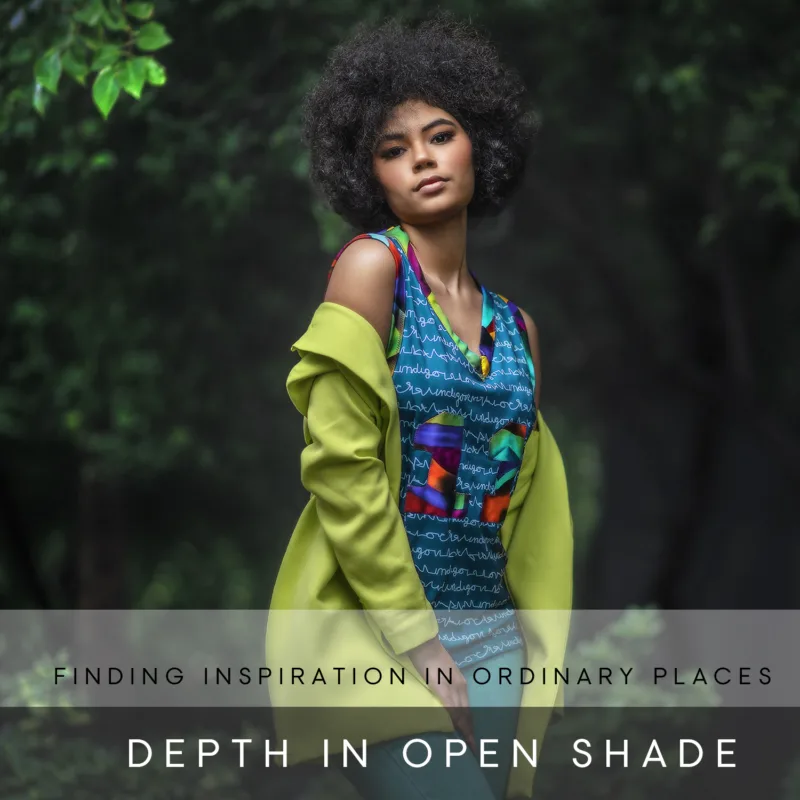
This installment of Finding Inspiration in Ordinary Places focuses on creating depth in open shade by using the layers that already exist within the environment.
The setup took place on the same hotel property as the other courses in the series. The actual shooting area was small and visually ordinary, with a mix of shrubs, trees, and landscaping that most photographers could easily walk past.
The goal was to make that small space feel much larger than it really was.
This course breaks down how the existing layers of foliage were used to create foreground, midground, and background separation, how camera position changed the way the space read inside the frame, and how subject placement helped turn a simple landscaped area into something that felt much more immersive.
The larger lesson is about learning how to recognize depth before you photograph it. Instead of looking at a location as one flat background, you’ll see how to identify the layers within it and use them intentionally to create a stronger sense of dimension.
You’ll also see the full behind-the-scenes setup, the decisions made during the shoot, and the complete RAW-to-final edit in Adobe Photoshop.
This course includes:
Behind-the-scenes footage from the actual setup
How to identify usable layers in an ordinary location
Foreground, midground, and background decisions
Camera position and subject placement
How open shade can be used to create a more dimensional look
How a small landscaped area was made to feel much larger
Complete RAW-to-final editing in Adobe Photoshop
Techniques that can be applied to many different locations
Although a strobe is used during the tutorial, the lessons are not dependent on flash. Natural light photographers can apply the same ideas around layering, composition, camera position, and creating depth in open shade.